

We made three cards using that punch but none were owls! I was trying to show some of the other creative uses for that punch. You can view my post here, and see the three cards that we made:
That night, the class participants told me that they would love another class featuring the owls.
I never want to disappoint, so we had another class last night! This time we made owls!
Each card features a different colored owl, some have different eyes, some have beaks - it doesn't matter how you make it it, is going to be cute when you are finished!

Her cap the same piece that is used as the owl belly (or vest, as I call it), just turned upside down and glued behind the head!
The red cross on her nurse's cap is a flower from the now-retired Itty-Bitty punch pack.
Finally, she gets the drowsy look from her eyelids, which are made from a single circle of Smoky Slate card stock. It is the same circle as the white eyes included with the owl punch.
Here is the second card:


(The Envelope Liner framelits)
We stamped the Hardwood background stamp on the front of the card using Soft Suede ink.

The card stock is Baked Brown Sugar, so it is a bit lighter.
The owl is also Soft Suede (card stock) with a Daffodil Delight belly. His feet were cut off before gluing him to the black circle and then to the card.
I used a 2 inch circle from the Circle Framelits set.

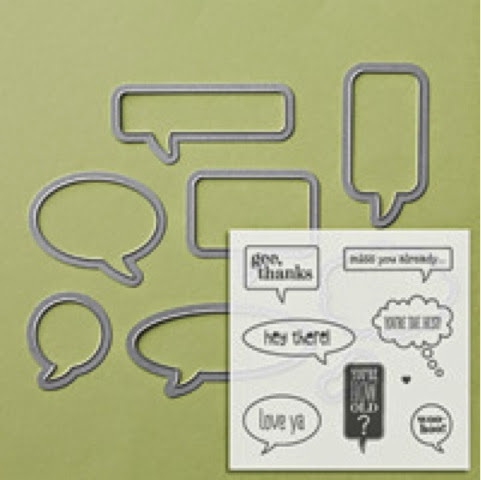
I also used the Word Bubbles framelit to cut out the coordinating "woo hoo" from the Just Sayin' stamp set.
The sentiment was stamped in Island Indigo ink. (Of course, I consulted the Color Coach to see which colors would look nice together. I still have the card for Lucky Limeade, so I used that as the point of reference.) Participants had a choice of either "Congratulations" or "Happy Birthday" for the inside of the card.

I should state here that all three cards were inspired from others that I found on the Internet. They are not exact copies!
Here is the front of the third card:

Now here's the owl on the inside:

Again I used a retired DSP (Summer Smooches) to make the owl belly and the envelope flap cover. (Gotta use this stuff up!) Both stamps are also retired.
Couple of things about this how that you need to know:
• He is hanging from a branch that comes from the "Bird on a Branch" builder punch.
• His wings are a piece of Chocolate Chip card stock, made with the 7/8 inch scalloped circle punch, and cut in half.
• This owl has a beak that I free-hand cut out of Pumpkin Pie card stock. (Notice there is no separate beak on the other two cards; you don't really need one if you place the eyes correctly)
** When working with the Owl punch, I have a couple of tips:
1) Have tweezers or a "QuickStik" on hand - there are lots of tiny pieces to work with!
2) Use Tombow multipurpose glue - its pointy tip makes it easier to apply glue to the little pieces! (sooo much easier then the SNAIL tape)

3) Have a container or baggie on hand for all of your "spare owl parts"! They are going to get punched out when you need a particular piece anyway, and you never know when you're going to need them in the future!
4) Have a trashcan nearby! Lots of "paper poop" with this punch!
As always I am here to help if you have any questions!
You can find these products and more by visiting my website at:
Just click on "shop" in the upper right-hand corner!
No comments:
Post a Comment